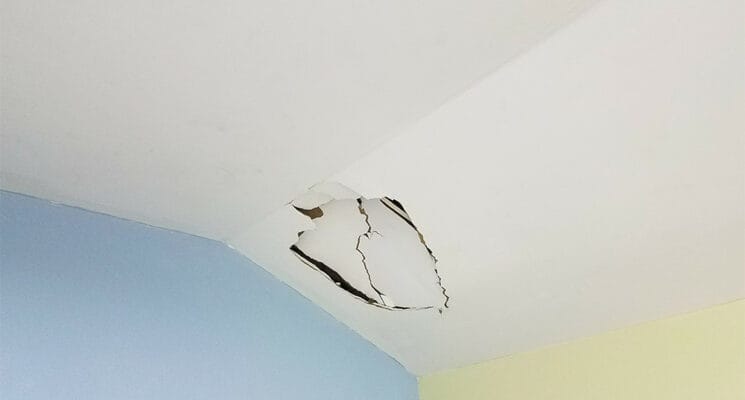
Easily Fix Hole in your Drywall | Any Size Hole DIY
Whether holes in your drywall were caused by nails used to hang photos or by a swing door with no door stop, fixing holes in your drywall is a relatively easy project. This blog will teach you how to repair any size hole in your drywall. Keep reading to learn more, or watch the tutorial video below.
How to Fix a Small Hole In the Drywall: Nail Hole Size
Let’s start with a hole in your drywall caused by nails that are about 1 inch to 1-½ inches.
Tools Required:
Materials Required:
Step 1.
Sand and remove any loose drywall.
Step 2.
Apply some joint compound to the affected area with a putty knife. Let it dry, sand it even, prime it, and paint to match the color of the wall.
Tip.
Always double-check that the mud didn’t dry and sink in. If you find that, apply another layer of joint compound. Let it dry and sand flush with sandpaper. You want an even surface before you paint.
How to Fix a Medium Hole in the Drywall: Door Knob Wall Damage
Medium holes in drywall can be caused by door knobs when there isn’t a door stop used. These holes are about 4-6 inches wide.
Tools Required:
Materials Required:
Step 1.
Remove any loose drywall by cutting it out with a utility blade. After, sand the edges of the hole until it’s smooth.
Step 2.
Next, apply the rapid wall repair patch. Make sure it is flat and even and covers the hole.
Step 3.
Next, apply Joint Compound to the middle of the mesh, where the problem area is. You want to do this to create a strong backing. Now apply the Joint Compound around the edges and try to get a clean even look.
Step 4.
Finally, let it dry and sand even with the wall. Then paint and prime the wall.
Tip.
Always apply a second thin coat of Joint Compound after sanding the first layer of the Joint Compound. Apply a thin layer of joint compound to smooth out the wall for an even surface. Lightly sand one more time before priming and painting.
How to Fix a Large Hole In the Drywall
Let’s say you have to do some electrical work, so you cut a larger area of drywall. With these types of projects, we always recommend saving the drywall board you just cut out for reuse when you go to repair the area. If you don’t have that drywall board, you will have to purchase a drywall panel.
Tools Required:
Materials Required:
Step 1.
First, remove any loose drywall by cutting it out with a utility blade. Then, we will need a backing that will secure the Drywall panel. For the backing, we recommend using a piece of soft wood like Pine. Cut it to fit the height of the hole.
Step 2.
Next, you want to place the wood backing inside the hole and pull it tight against the backside of the drywall. Then fasting the board and drywall together using the Drywall Screws and Screw Gun.
Step 3.
Next, place the Drywall Panel over the hole using the backing as a support. Make sure it fits the height and width of the hole. Then, screw the drywall panel into the wood backing.
Step 4.
Lay down a layer of Joint Compound around the Drywall Panel to fill any open spaces.
Step 5.
Place some Drywall Tape around the edges of the Drywall Panel to help secure it to the rest of the wall. Immediately apply another thin layer of Joint Compound over the tape. Let it dry.
Step 6.
Then apply Joint Compound all over the panel and feather to the rest of the wall. After the second layer dries, apply another thin coat to fix any problem areas.
Step 7.
Let the Joint Compound dry. Then sand, prime and paint the wall.
Tip.
With Larger holes, we recommend painting the entire wall, where the hole is so the final paint job will look even.
Get in touch

